Welcome to the Learners Guide! (Windows Platform)
Here, i'll be teaching you the basics, from scratch!
First your going to need a computer (PC) to download Graal V6 (PC Graal)
Here is the link:
First your going to need a computer (PC) to download Graal V6 (PC Graal)
Here is the link:
Once you have downloaded it, open the application
You should see a screen like that:
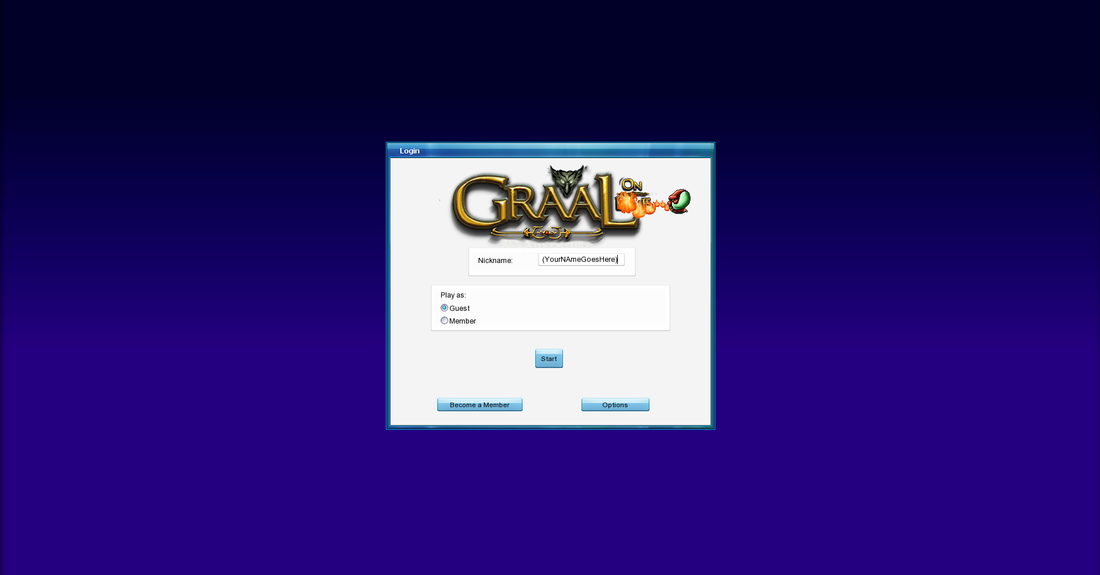
Put your nickname in the Nickname box up the very top,
Then press start.
Then press start.
You should see something like the image below when you press Start.
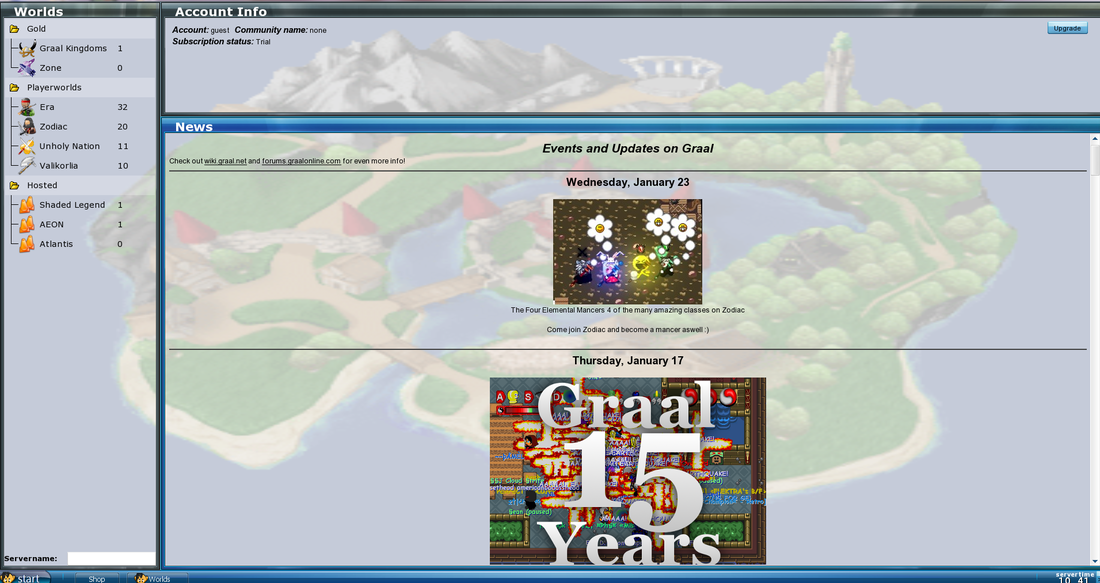
Once you see that screen click on the "Start" button in the bottom left corner.
A box should appear with 10 options, click the very bottom one "Install Packages"
A window should than appear find the Developer Tools folder, then two down,
below the Level Editor will be Developer Tools, Click on that then click Install.
A box should appear with 10 options, click the very bottom one "Install Packages"
A window should than appear find the Developer Tools folder, then two down,
below the Level Editor will be Developer Tools, Click on that then click Install.
Search for Graal in "My Computer" you should have a folder, once there,
Find an application with the name Graal Shop,
Open it, you should see a screen like this:
Find an application with the name Graal Shop,
Open it, you should see a screen like this:
Congratulations! You've successfully got the Gani Maker/Editor!
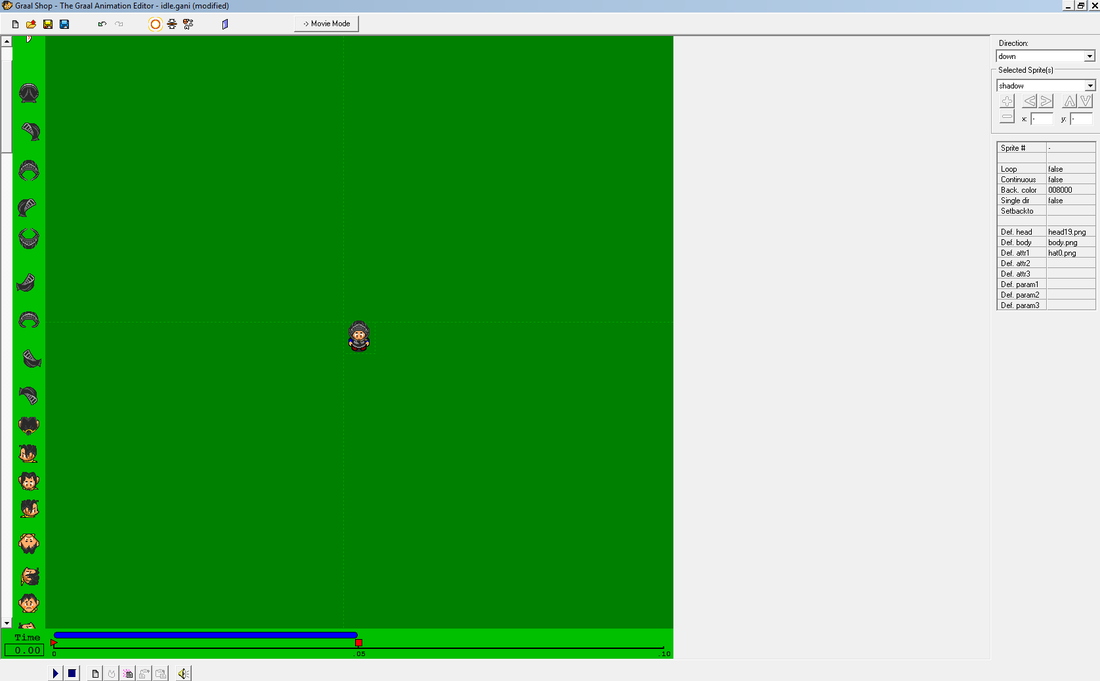
This is the Graal Ani Maker/Editor!
Now is the time I can teach you how to add different sprites.
(You can also zoom in using a mouse, with the scroll in the middle of your mouse)
Anyway if you look up the top at all the buttons you'll see a Orange Circle, click
on that, a new window should appear,
Now is the time I can teach you how to add different sprites.
(You can also zoom in using a mouse, with the scroll in the middle of your mouse)
Anyway if you look up the top at all the buttons you'll see a Orange Circle, click
on that, a new window should appear,
Before adding Sprites, you need to save the Image you want to add and the Gani into your Graal Folder,
Be sure to add .gani at the end of your Gani otherwise it wont be a gani!
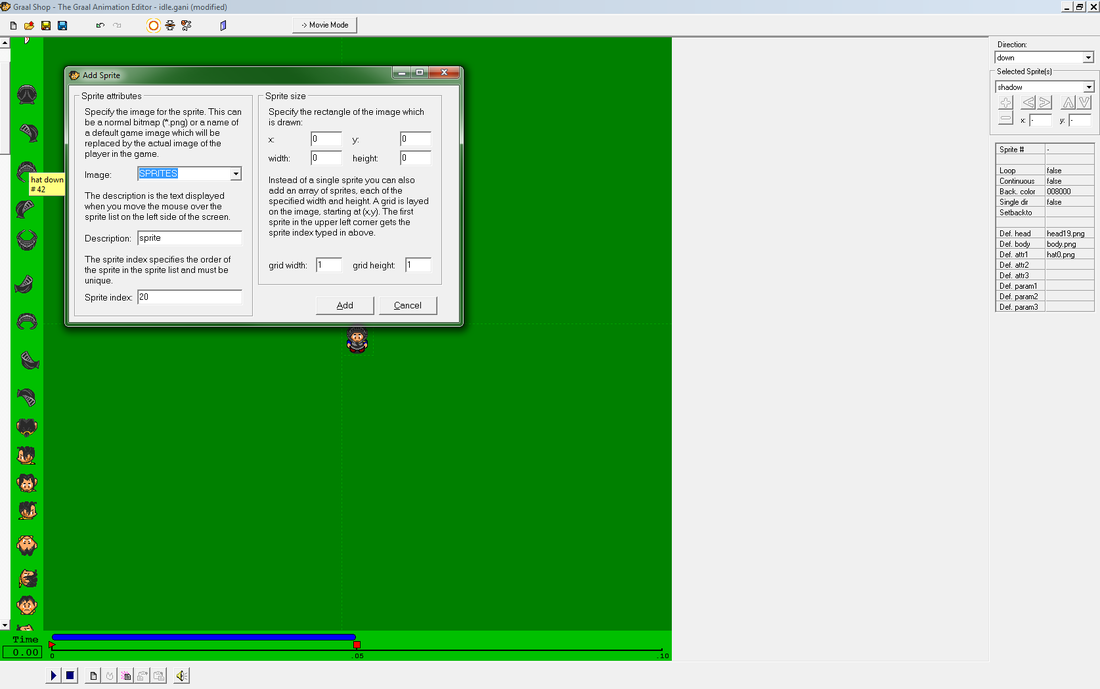
After you saved your image and Gani Click on the Orange Circle again to reveal that window.
Were is says "SPRITES" replace that with your image name.
Open up MicroSoft Paint, open your image.
Be sure to add .gani at the end of your Gani otherwise it wont be a gani!
After you saved your image and Gani Click on the Orange Circle again to reveal that window.
Were is says "SPRITES" replace that with your image name.
Open up MicroSoft Paint, open your image.

For example im using Alfonso's SC17, as you can see, i added the image name in the box that said "SPRITES"
Go back to your image, put your little Selection Tool into the top left corner of the part of the gun you want
look to the very bottom left corner, you'll see two digits, the very left number i want you to add it into the the box which has X next to it, then the scond number, next to the first, add it to the Y box.
Now, put a rectangle over the the gun you want to add, near the numbers you just put in, another set will be there, with a rectangle box and two arrows, going up and across, Same as before, but thhe first one in the height box and the width in the width box.
How To Add Frames!
If you look down the bottom, you'll see 8 buttons, there is Play and Stop, New Frame and Delete Frame, Copy Frame and Copy Left, Copy Right and Add Sound.
Do not worry about the sound one, or the add new frame, by adding the new frame you have to put everything together, press the Copy Frame button (Paper with Purple Dots around it then press the one with the clipboard abd the paper on the Right side.
You'll notice then another blue bar appears!
Do not worry about the sound one, or the add new frame, by adding the new frame you have to put everything together, press the Copy Frame button (Paper with Purple Dots around it then press the one with the clipboard abd the paper on the Right side.
You'll notice then another blue bar appears!
Making Frames Longer!
Click on the frame after the one you want to make longer, so the blue bubble turns red, then use your arrow keys left and right to make it shorter or longer!
| era_melee_knife-walk.gani |
| era_melee_knife.png |
Take these two files for an example, download both of them and save them into your Graal Folder, open up Era_malee_knife-walk.gani in the editor for a preview of a Gani uploaded to Era iPhone!
